

How do I price my first freelance service?
Price your first freelance service by naming one clear package, estimating the real time it will take, adding your costs, and stating the price in writing before you start. A good first price is simple to understand, fair for the work, and high enough that you can deliver well without rushing. It does not need to match the price of an expert with ten years of experience, but it should not be so low that you lose money after fees, revisions, and message time.
Many beginners make two opposite mistakes. Some price too low because they fear losing the client, then feel resentful when the job takes longer than expected. Others copy a high price from an expert, without the samples or reviews to support it, then get no replies. Your first price should sit in the middle. It should reflect a beginner rate, a clear package, and a limit on revisions, so both sides know what to expect.
This post shows a step by step pricing method, three common pricing models, a worked example with clear math, and how to raise your price later. It is educational only. It is not financial advice, and it does not promise a set income. Prices vary by skill, market, location, and the buyer budget.
Step 1: Define exactly what the buyer gets

Price follows scope. If the scope is vague, the price will be wrong. Before you name a price, write down the deliverable in plain words. For example: five product descriptions, each 80 to 120 words, delivered in one document, within three working days. Or: three social media graphics, sized for one platform, delivered as image files, with one round of small revisions.
Also write down what is not included. For example: extra products, a new design style, rush delivery in under 24 hours, or printing are not included. If a buyer asks for extra work, you can price it as an extra package, rather than doing it for free.
A clear package also helps you compare jobs. If two buyers ask for different amounts of work, you can adjust the package, rather than guessing a new price each time. Keep your first packages small. A small package is easier to sell, easier to deliver, and easier to price fairly.
Step 2: Estimate your real time, not just creative time

Beginners often count only the time spent writing or designing. Real job time is longer. It includes reading the brief, asking questions, researching, drafting, checking, revising, sending files, and replying to messages. If you ignore that time, your hourly rate will look higher on paper than it is in real life.
Time yourself on a sample job. Do the task as you would for a client, and record each part. For example, suppose a set of five product descriptions takes 30 minutes to draft, 20 minutes to check and edit, 15 minutes for messages and file delivery, and 25 minutes for one revision round. The total is 30 plus 20 plus 15 plus 25, which is 90 minutes, or 1.5 hours. If you had counted only drafting time, you would have estimated 30 minutes, and your price would have been far too low.
Keep a simple time log for your first few jobs. Write the task, the start time, the end time, and notes on what took longer than expected. After three jobs, your estimates will be much more accurate, and your prices will be easier to defend.
Step 3: Pick a starting rate you can accept
Your starting rate is a personal choice, not a market law. It should cover your time, your costs, and a small amount for tax, while staying realistic for a beginner. Think about three questions. What is the lowest rate that makes the job worth your time, after fees? What rate do similar beginners charge for a similar task in your market? What can your target buyer reasonably pay for a small package?
Do not choose a rate based only on what you wish experts earn. Choose a rate you can state with confidence, and that you will not regret halfway through the job. If a job takes longer than expected, a fair rate helps you stay professional, rather than rushing or cutting corners.
You can also test a rate. Offer the same package to ten suitable buyers at one price, and track replies. If no one replies, the problem may be the offer, the sample, or the price, and you should test one change at a time. If everyone accepts instantly and asks for more work, your price may be too low for the next package. Testing in small batches is better than changing your price after every message.
Step 4: Add costs, fees, and a tax reserve
Your price is not your profit. Costs reduce what you keep. Common costs for a beginner include platform fees, payment fees, software costs, and internet or device costs if they are directly linked to the work. For a first job, the most visible cost is often a platform or payment fee.
Use this simple formula for a first estimate. Start with your time cost, which is estimated hours times your target rate. Add direct costs for that job, such as a platform fee if you can estimate it. That gives a starting package price. Then plan to set aside part of what you receive for tax, in a separate place, so a tax bill later does not surprise you.
The IRS explains that you generally owe self employment tax if your net earnings from self employment are 400 dollars or more in a year. Net earnings means income after business expenses, not total money received. The combined self employment tax rate is 15.3 percent for Social Security and Medicare, applied to 92.35 percent of net earnings, before income tax is considered. That is why a tax reserve matters, even for a small side income. Tax rules vary by country and situation, so check the rules that apply to you, and speak to a qualified professional if you are unsure. Do not treat a tax reserve as a tax calculation. It is a safety habit, not a substitute for professional advice.
Three pricing models, in simple terms
The first model is price per package. You charge one fixed price for a defined set of work, such as five descriptions for 50 dollars. This is the best model for most beginners, because the buyer knows the total cost, and you know the exact scope.
The second model is price per hour. You charge for each hour worked, such as 20 dollars per hour, and you track time honestly. This model can work for ongoing help, such as weekly admin support, where the task changes each week. For a first job, hourly pricing can worry buyers, because they do not know the final cost. If you use hourly pricing, agree on a maximum number of hours, and send a short time summary with your invoice.
The third model is price per unit. You charge for each item, such as 10 dollars per product description, or 15 dollars per graphic. This model is clear for repeat work, because the buyer can order more units at the same rate. For a first job, combine per unit pricing with a package minimum, such as a minimum of five units, so a tiny order does not waste your setup time.
Choose one model for your first offer, and state it clearly. Do not mix models in one message, because that confuses the buyer. You can offer a second model later, once you know the buyer and the work pattern.
Worked example: pricing a first package, step by step
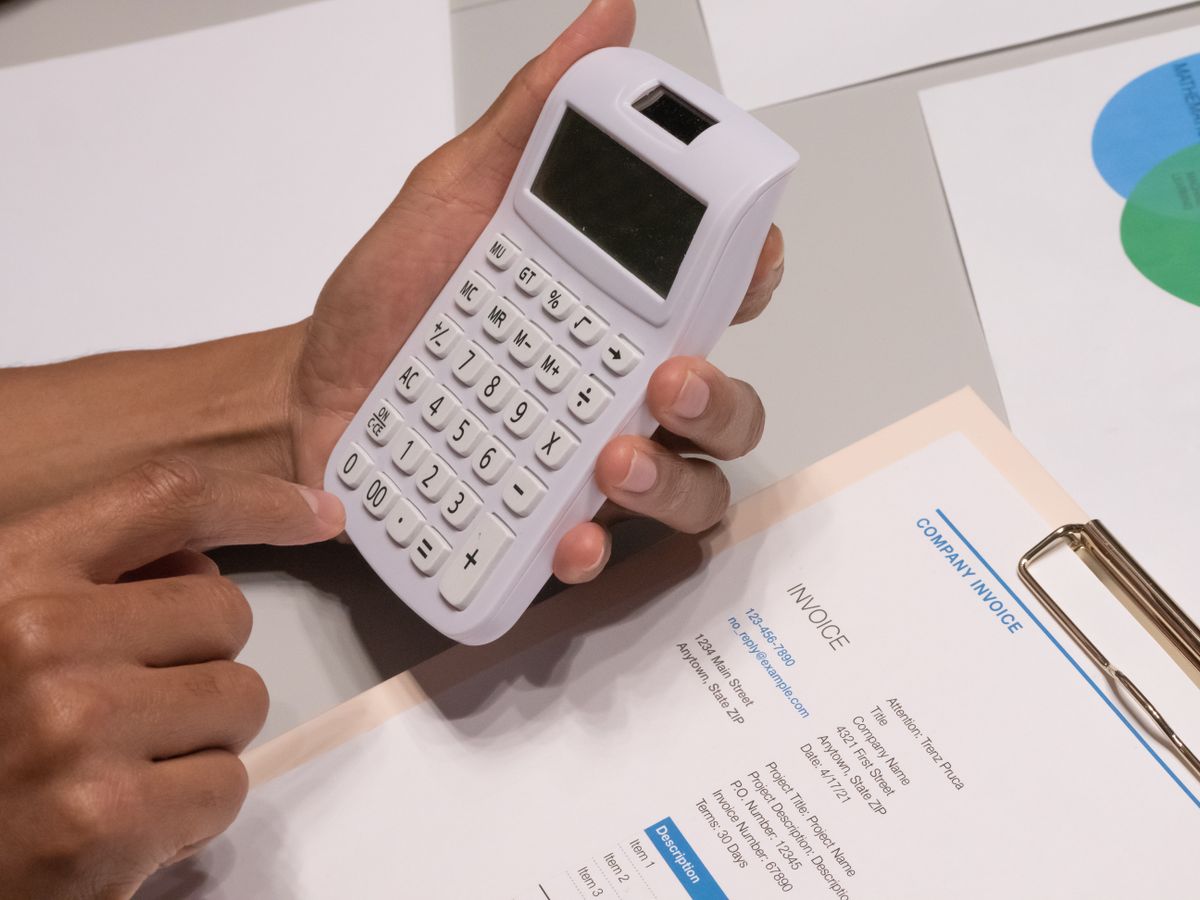
This is a worked example with hypothetical numbers, to show the math clearly. It is not a market rate, and it is not a promise of what you will earn.
Suppose you offer five product descriptions. Step one, scope: five descriptions, each 80 to 120 words, one document, three working days, one round of small revisions included. Step two, time: drafting 60 minutes, checking and editing 30 minutes, messages and delivery 20 minutes, one revision round 25 minutes. Total time is 60 plus 30 plus 20 plus 25, which is 135 minutes, or 2.25 hours.
Step three, rate: suppose your beginner target rate is 20 dollars per hour. Your time cost is 2.25 times 20, which is 45 dollars. Step four, fee: suppose the platform fee is 10 percent of the price. If you price the package at 50 dollars, the fee is 50 times 0.10, which is 5 dollars. Your net amount before tax is 50 minus 5, which is 45 dollars. That matches your time cost exactly in this example, which means the package price of 50 dollars covers your time after the fee.
Now check the effective rate. Your net amount is 45 dollars, and your total time is 2.25 hours. Your effective rate is 45 divided by 2.25, which is 20 dollars per hour. If you had priced the package at 45 dollars without counting the fee, your net amount would be 45 minus 4.50, which is 40.50 dollars. Your effective rate would be 40.50 divided by 2.25, which is 18 dollars per hour. That small difference shows why fees must be counted before you name a price, not after.
Now add a tax reserve example, for planning only. Suppose you set aside 20 percent of your net amount for tax planning. On a net amount of 45 dollars, the reserve is 45 times 0.20, which is 9 dollars. Your remaining amount after the reserve is 45 minus 9, which is 36 dollars. This 20 percent figure is a hypothetical planning example, not a tax rate, because your real tax depends on your total income, your expenses, and your tax rules. Keep the reserve in a separate account or note, so you can track it across jobs.
If the buyer asks for ten descriptions instead of five, do not simply double the time without checking. Some setup time stays the same, but drafting time doubles. A clear way to price it is to state a per unit rate for extra units, such as 10 dollars per extra description, with the same revision limit. That keeps the math transparent for both sides.
What to include in your price message
Send your price in writing, in a short message or document, before you start. Include the package, the price, the deadline, the number of revisions, the payment timing, and what is not included. For example: Five product descriptions, 80 to 120 words each, delivered in one document within three working days, for 50 dollars, with one round of small revisions included. Payment is due before final delivery for a first job. Extra descriptions are 10 dollars each. Rush delivery and printing are not included.
For a first job with a new client, payment before final delivery is common for a small job, or part payment in advance for a larger job. Agree on this before you start, not after you finish. If a buyer refuses any written agreement, or asks you to start without a price, that is a warning sign. A serious buyer will accept a short written agreement.
Watch for scams in pricing conversations. The U.S. Federal Trade Commission warns that side hustle scams often promise big money for little effort, pressure you to accept quickly, or demand payment up front from you. A real client pays you. You should not pay a fee to get a job, buy a starter kit to unlock work, or send money back from a check. If a pricing conversation includes those demands, walk away.
Common mistakes to avoid
Do not price by copying an expert rate without expert proof. Do not price by guessing, without timing a sample. Do not forget fees, revisions, and message time. Do not agree to unlimited revisions, because that turns a fixed price into open ended work. Do not start work before the price and payment timing are agreed in writing.
Do not promise results you cannot control, such as more sales, in order to justify a high price. Price the work you will deliver, not the outcome you hope for. Do not accept payment through a method that asks you to send money back, buy gift cards, or share bank passwords. Those are scam signs, not normal payment methods.
Frequently asked questions
Should I charge per hour or per project for my first job?
For most beginners, per project or per package is clearer. The buyer knows the total cost, and you know the exact scope. Hourly pricing works better for ongoing work where tasks change each week, with a maximum hours limit agreed in advance.
What if I do not know what others charge?
Start with your time plus costs method, and test it with ten suitable buyers. Track replies and questions. If buyers say the price is too high, ask what smaller package fits their budget. If buyers accept instantly and ask for more, consider a higher price for the next package. Use real replies, not guesses, to adjust.
How many revisions should I include?
One or two rounds of small changes is common for a first package. State the number in writing, and define small changes, such as wording or colour changes, versus new work, such as a new product or a new design. Price new work as an extra package.
Conclusion, and your first step today
Pricing your first freelance service is not about guessing a number that sounds impressive. It is about defining a clear package, timing the real work, adding fees, and stating the price in writing. A fair first price lets you deliver well, build proof, and raise your price with confidence later.
Start today with one step. Pick one package you can deliver this week, and time yourself doing a sample version. Write down the total time, multiply it by a beginner rate you can accept, add the fee, and write the package price in one short message. That message is ready to send to your first suitable buyer.
Your next steps in this series are: how to find your first freelance client, can you earn side income from writing or design, and how to turn a skill into side income. Those posts will link here in the Side Income cluster once they are published.
Disclaimer: This article is for education only. It is not financial advice, and it does not guarantee any result. Your income, costs, taxes, and client results are personal, and you should consider your own situation, and speak to a qualified professional if you need personal advice, before making a financial decision.